

Build a CRUD React Todo App (Part 1)
In this article 1 of React Todo App Series, we will build a Todo App with React with Vite and later integrate it with Firebase and deploy.


Before following with tutorial, it is necessary to install Nodejs, a javascript runtime environment. Visit this link to install it on your specific machine. Also, make sure to have a Code-editor installed to write our code. I recommend VSCode.
It is also necessary to outline some of the basic functions that our app will perform which are as follows:
Create a task
Complete a task
Delete a task
Edit a task
Let's start!
Initialize a sample React project with Vite
We can use Vite to build a starting React template for our project so that we can get started immediately. Vite is a build tool for javascript that helps package our project into small bundles for faster execution and much more.
Navigate to a folder of your choice and open it in a terminal. On Windows, click on the top address bar in a folder, type cmd and press Enter:
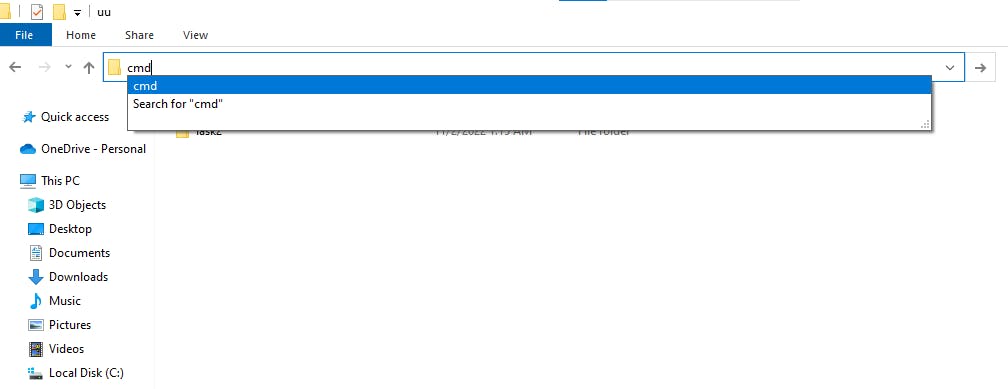
In the terminal, paste the following command:
npm create vite@latest
If Vite is not installed, there will be a prompt to install it. When it is installed, it will ask the following:
Project name: We will name it react-todo-app.
Framework: Using arrow keys, navigate to React.
Variant: Choose Javascript.
For Windows users, copy and paste the following command in the terminal:
cd react-todo-app & npm i & npm run dev
For Linux and Mac users, copy and paste the following command instead:
cd react-todo-app; npm i; npm run dev
After this, a link will appear in the terminal. Copy and visit the link in your browser and the following page will appear:
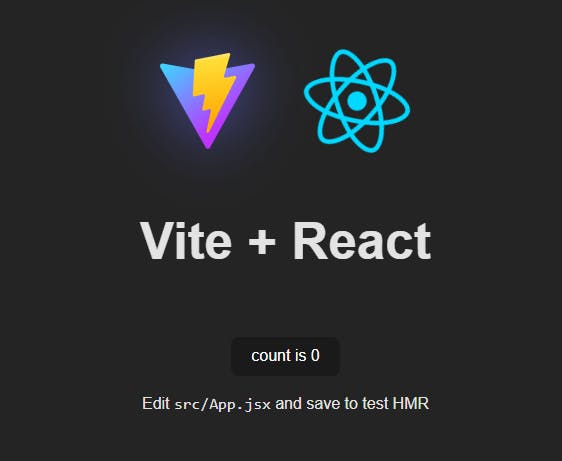
This shows that our app is working correctly.
Coding the Todo App
Open the react-todo-app folder in your favorite Code-editor.
In the src folder, open the App.js file. First, we will start by declaring the state for the todos in our app. The state will be an array of objects where each object has a name of the task and a boolean variable to represent whether the task is completed or not. There will also be a state for storing the task when the user inputs it.
At the top of the function App, paste the following code:
   const [todos, setTodos] = useState([
     { text: 'Learn React', isCompleted: false },
     { text: 'Build a to-do app', isCompleted: false },
     { text: 'Deploy to production', isCompleted: false },
   ]);
   const [value, setValue] = useState('');
In the above code, the todos represent the actual state wheras setTodos is a function to modify the state.
We will also add code for adding, removing and completing our todos:
  const handleAddTask = (e) => {
    e.preventDefault();
    if (!value) return;
    addTodo(value);
    setValue('');
  };
 const addTodo = (text) => {
    const newTodos = [...todos, { text, isCompleted: false }];
    setTodos(newTodos);
  };
const removeTodo=(index)=>{
  const newTodos=[...todos]
  newTodos.splice(index,1)
  setTodos(newTodos)
}

const completeTodo=(index)=>{
  const newTodos=[...todos]
  newTodos[index].isCompleted=!newTodos[index].isCompleted;
  setTodos(newTodos)
}
The handleAddTask function will be used when user inputs a new task and clicks on the Add Task button.
Now, remove the existing boiler-plate code after the return statement and add the following jsx:
return (
    <>
    <div className="todo-app">
      <div className="todo-header">
        <h1 className='heading'>My Todo List</h1>
        <form>
        <input
          type="text"
          className="todo-input"
          value={value}
          onChange={(e) => setValue(e.target.value)}
          placeholder="Add a new to-do..."
        />
        <button className='add-task' onClick={handleAddTask}>Add Task</button>
      </form>
      </div>
      <div className="todo-list">
        {todos.map((todo, index) => (
          <Todo
            key={index}
            index={index}
            todo={todo}
            completeTodo={completeTodo}
            removeTodo={removeTodo}
            handleUpdateTask={handleUpdateTask}
          />
        ))}
      </div>
    </div>
    </>
  )
We are rendering the todo list by mapping over each todo in the todos array and returning a Todo component to display the information of each todo. We also pass some props to the component so that it can manage updating the state of todos.
Coding the Todo Component
Now, we will write the code for our Todo component:
- In the src folder, create a new folder called components and inside this new folder, create a new file called Todo.jsx.
Open the Todo.jsx file and paste the following code:
import { useState } from "react";


export function Todo({ todo,
 index,
completeTodo,
 removeTodo,
handleUpdateTask}) {

const [editTask,SetEditTask]=useState(todo.text)
const [isEditing,SetIsEditing]=useState(false)


  return (
    <div
      className="todo"
      style={{ textDecoration: todo.isCompleted ? 'line-through' : '' }}
    >
       {!isEditing ?(<h4 onDoubleClick={()=>SetIsEditing(true)}>{todo.text}</h4>):(
        <input onBlur={(e)=>handleUpdateTask(e,index,editTask,SetIsEditing)} value={editTask} onChange={(e)=>SetEditTask(e.target.value)} type="text" />
       ) }
      <div className="actions">
        <button title="complete task" className="complete-button" onClick={() => completeTodo(index)}>Complete</button>
        <button title="remove task" className="remove-button" onClick={() => removeTodo(index)}>x</button>
      </div>
    </div>
  );
}
In the above component, we are displaying the information passed to the Todo component and adding interactivity to it by adding Complete Task and Delete Task buttons. The handleUpdateTask function is received as a prop to this component and handles the main editing logic of a todo.
When user double-clicks on a task name, an input box will render, where the user can rename or edit the task. Once the user is done editing, click outside the input box and the task will be updated. We use two React events to achieve the functionality of editing a task:
onDoubleClick: To register double click event to start editing a task.
onBlur: To register out of focus click event to finish editing a task.
And the final result is:

Thats it, folks!
Thank you for following through on the article. In this part, we made our todo app with adding, removing and completing a todo functionality. But we did not add persistence to our todos, so they will be lost when we refresh the page.
That's where Firebase comes in, we will use its Firestore database and auth to authenticate users and store and retrieve our todos. In the next part, I will show how to integrate our app with Firebase and then deploy it on Vercel so that you can show the world, this cool project! The code is available on the GitHub repo.
Make sure to follow and connect with me on social media. Thank you :)
Image by rawpixel.com on Freepik